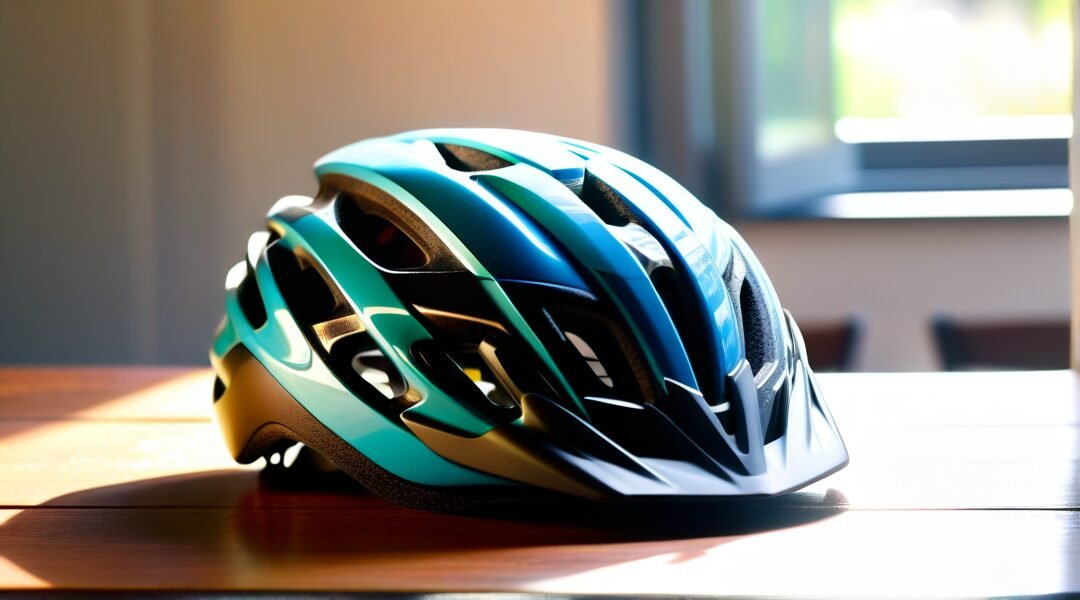
How to Clean a Bicycle Helmet: A Step-by-Step Guide
Keeping your bicycle helmet clean is essential for maintaining its longevity and ensuring your safety on the road. Over time, sweat, dirt, and grime can accumulate, potentially affecting the helmet’s integrity and hygiene. Here’s a comprehensive guide on how to effectively clean your bicycle helmet.
## Why Clean Your Helmet?
1. **Hygiene**: A clean helmet prevents bacteria and fungi from thriving, reducing the risk of skin infections.
2. **Visibility**: Dirt and grime can obscure reflective elements, impacting your visibility to others.
3. **Longevity**: Regular cleaning can help preserve the helmet’s materials, extending its lifespan.
## What You’ll Need
– Mild soap or dish detergent
– Soft sponge or cloth
– Soft brush (an old toothbrush works well)
– Warm water
– Towel or drying cloth
– Optional: Isopropyl alcohol or disinfectant wipes
## Step-by-Step Cleaning Process
### 1. Disassemble Your Helmet
Remove any detachable parts, such as the visor and inner padding. This makes it easier to clean all components thoroughly. Check the manufacturer’s instructions for specific disassembly guidance.
### 2. Rinse the Outer Shell
Using warm water, rinse the outer shell of the helmet to remove loose dirt and debris. Avoid using hot water, as it may damage the materials.
### 3. Clean the Outer Shell
Mix mild soap with warm water. Dip a soft sponge or cloth into the soapy water and gently scrub the helmet’s surface. Pay special attention to areas that accumulate grime, like vents and straps. Rinse thoroughly with clean water to remove soap residue.
### 4. Clean the Inner Padding
The inner padding can usually be hand-washed. If the padding is removable, soak it in warm soapy water for about 15-20 minutes, then gently scrub with a soft brush. Rinse well and let it air dry completely. If the padding isn’t removable, use a cloth dampened with soapy water to wipe it down, followed by a rinse with a clean, damp cloth.
### 5. Disinfect
To ensure your helmet is free from germs, use isopropyl alcohol or disinfectant wipes on the outer surface and straps. Be sure to follow the product’s instructions to avoid damaging the helmet.
### 6. Dry Your Helmet
Allow all components, especially the inner padding, to dry completely in a well-ventilated area, away from direct sunlight or heat sources, which can warp the materials.
### 7. Reassemble Your Helmet
Once everything is dry, carefully reassemble your helmet. Ensure that all parts fit snugly and securely, paying attention to the adjustments for a proper fit.
## Additional Tips
– **Frequency**: Clean your helmet regularly, especially after long rides or during hot weather. A good rule of thumb is to clean it every few weeks or monthly, depending on usage.
– **Storage**: Store your helmet in a cool, dry place away from direct sunlight to prevent material degradation.
– **Check for Damage**: While cleaning, inspect your helmet for any signs of damage, such as cracks or warping. If you find any, consider replacing it for safety reasons.
## Conclusion
A clean bicycle helmet is not only essential for hygiene but also for safety and performance. By following these simple steps, you can keep your helmet in top condition and enjoy your rides with peace of mind. Remember, your helmet is your best line of defense, so treat it with care!


0 Comments